Paving a Patio DIY — Step-by-Step Guide for 2026
Hiring a landscaper to pave a 200 sq ft patio runs $2,000–$5,000 in labor alone. The same job in materials costs $400–$1,200. That gap is why patio paving is one of the most popular DIY outdoor projects — and one of the most rewarding when done right.
This guide covers the full process from measuring and planning through to the finished surface — including what to buy, what tools you need, and the mistakes that turn a weekend project into a month-long headache.
How Hard Is It to Pave a Patio Yourself?
Moderate difficulty — physically demanding but not technically complex. The most critical skill is getting the sub-base level and properly compacted. Most homeowners with basic DIY experience can complete a standard 150–200 sq ft paver patio over a long weekend. Allow 1–2 days for excavation and base prep, and 1 day for laying.
Which Patio Material Is Most DIY-Friendly?
Not all patio materials are equally suited to DIY work. Here's how the main options compare on ease of installation:
| Material | DIY Difficulty | Material Cost / sq ft | Tools Needed | Lifespan |
|---|---|---|---|---|
| Concrete block pavers | Easy | $2–$5 | Plate compactor, rubber mallet, block splitter | 20–30 years |
| Natural stone flags | Easy–Moderate | $4–$12 | Angle grinder, rubber mallet, spirit level | 30–50 years |
| Porcelain tiles | Moderate | $5–$18 | Wet tile saw, notched trowel, tile spacers | 25–40 years |
| Gravel / decorative stone | Very Easy | $1–$3 | Rake, edging stakes, landscape fabric | 5–10 years |
| Brick | Easy–Moderate | $3–$8 | Plate compactor, rubber mallet, brick bolster | 25–50 years |
| Asphalt | Not DIY-suitable | $3–$6 | Requires professional plant equipment | 15–25 years |
Tools & Materials Checklist
Tools
- Spade and wheelbarrow (excavation)
- String lines and wooden stakes (layout)
- Spirit level and long straight edge
- Plate compactor (hire — ~$80–$120/day)
- Rubber mallet
- Block splitter or angle grinder with diamond blade (hire or buy)
- Screeding pipes or timber (for leveling sand)
- Stiff brush (for jointing sand)
- Tape measure and chalk line
Materials (for a 200 sq ft patio)
- Pavers / flags of your choice (~220 sq ft including 10% wastage)
- Compactable gravel sub-base (MOT Type 1 / crusher run) — ~3.5 tons for 4" depth
- Sharp sand or grit sand for bedding — ~1.5 tons for 1" depth
- Kiln-dried or polymeric jointing sand — 2–3 bags
- Edge restraints / edging bricks (perimeter)
- Weed membrane (optional but recommended under gravel patios)
The 8-Step DIY Patio Paving Process
Plan, Measure & Mark Out
Measure your patio area and mark it with wooden stakes and string lines. Double-check right angles using the 3-4-5 triangle method (measure 3 ft along one string, 4 ft along the other — diagonal should be 5 ft). Plan a drainage slope of at least 1 in 60 (about ¼ inch per foot) away from any building. Check for underground utilities before digging.
Excavate to Depth
Dig out the marked area to the correct depth — typically 6–8 inches total (4" sub-base + 1" sand + paver thickness). Remove all topsoil, roots, and organic material. Clay soil needs deeper excavation as it's more prone to movement. Dispose of spoil via a hired skip or take to a local tip.
Compact the Sub-Grade
Run the plate compactor over the exposed soil base. This is the most critical and most skipped step — any soft spots here will cause pavers to sink or shift later. Pay extra attention to edges and corners. If the soil is very soft or clay-heavy, consider adding a geotextile membrane before the sub-base.
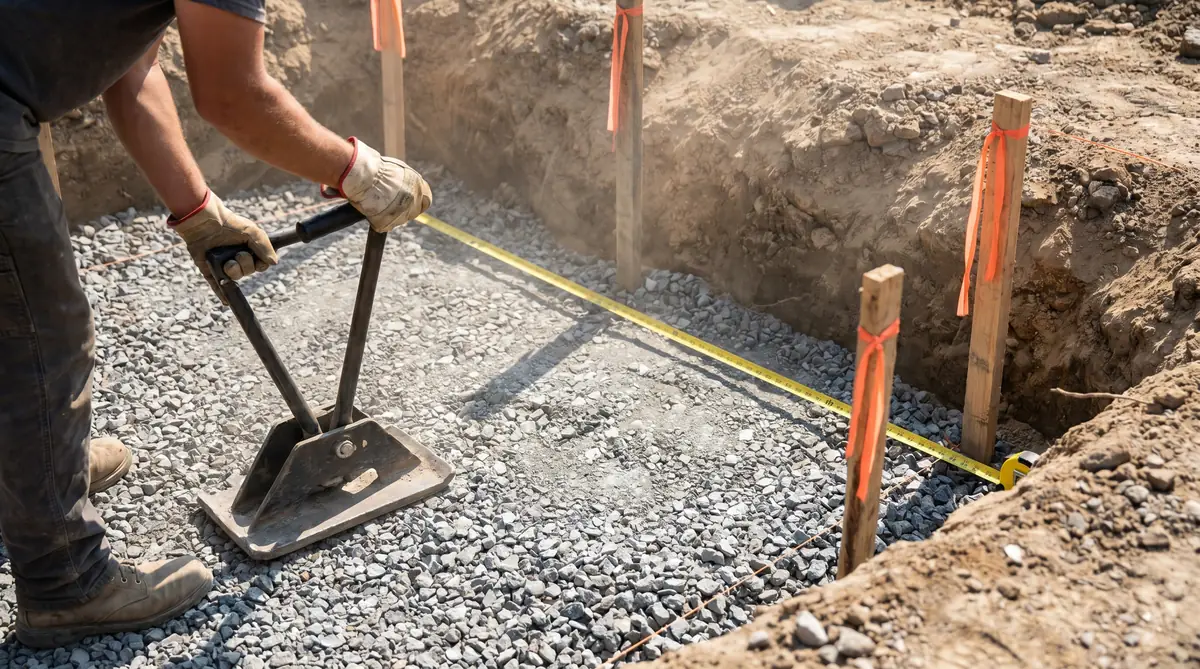
Lay & Compact the Sub-Base
Spread compactable gravel (MOT Type 1 or crusher run) to a depth of 4 inches. Compact in two 2-inch lifts — compact the first 2 inches before adding the second. Check level across the entire area with a long straight edge. The sub-base should mirror your finished drainage slope.
Screed the Bedding Sand
Spread 1 inch of sharp sand (not builder's sand) over the compacted sub-base. Lay two parallel pipes or timber battens at the correct depth and drag a straight edge across them to screed a perfectly level, consistent bed. Remove the pipes carefully and fill the channels. Do not compact or walk on the screeded sand before laying pavers.
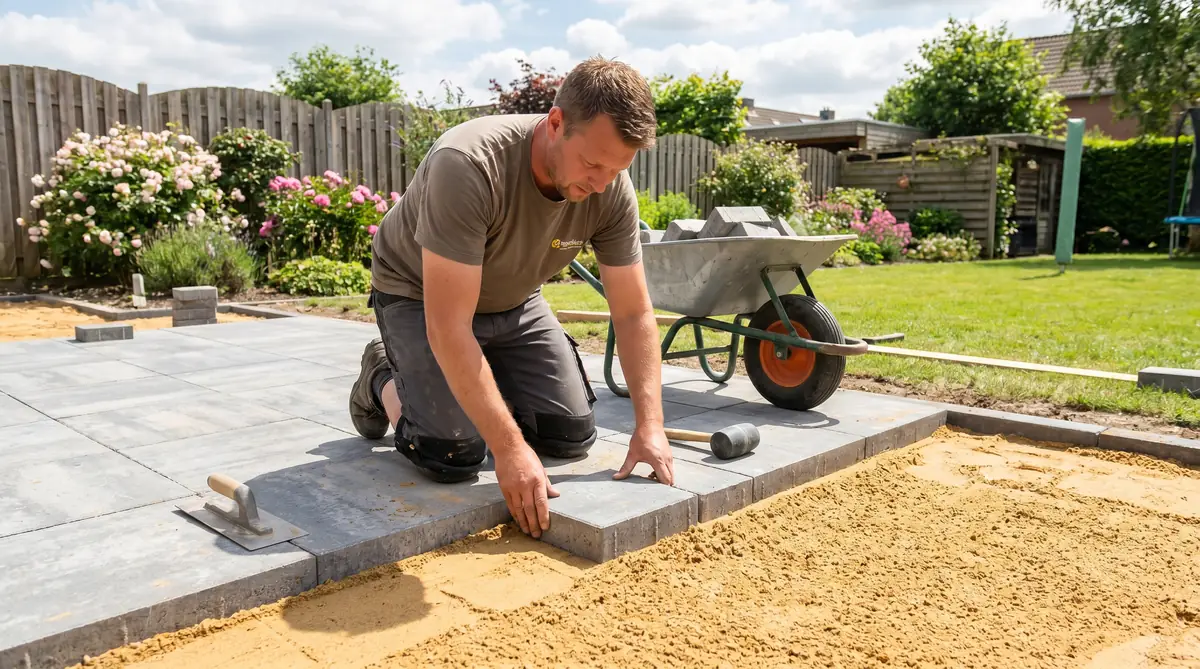
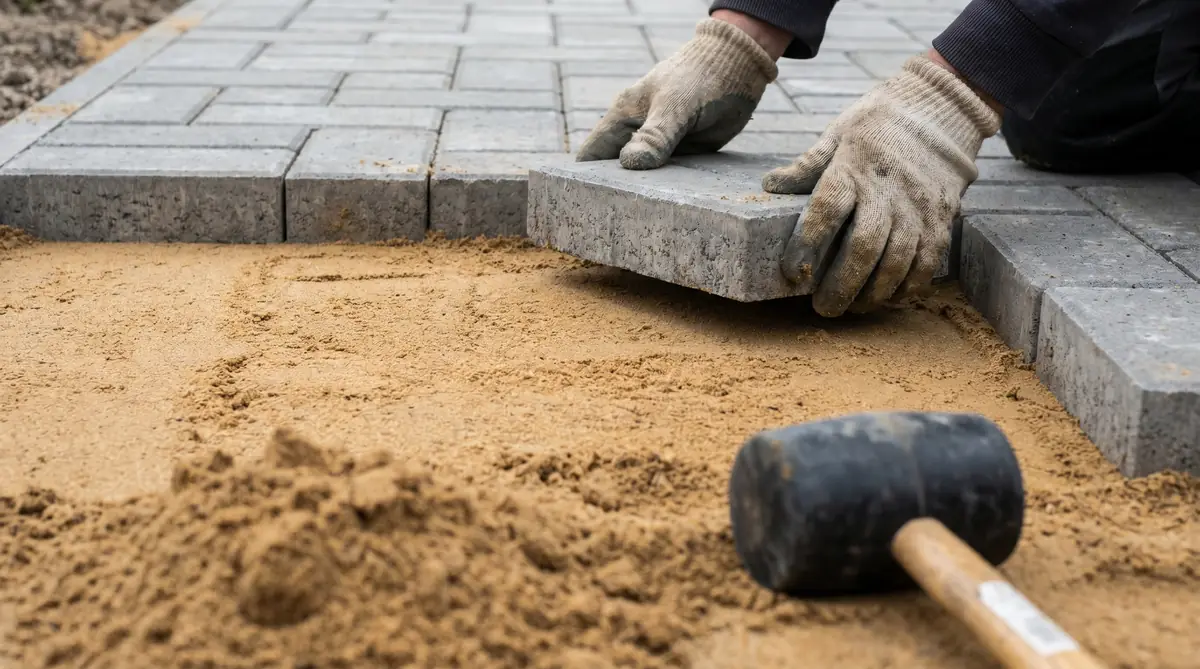
Lay Your Pavers
Start from a fixed straight edge — a wall, existing path, or a timber battens set at your starting line. Work outward, placing pavers in your chosen pattern. Use consistent spacers (typically ⅜"–½") for joint gaps. Tap each paver down with a rubber mallet and check level regularly with a spirit level. Never stand on uncompacted areas as you work.
Cut & Fit Edge Pieces
Measure each edge cut individually — don't assume they're all the same. Use a hired block splitter for straight cuts on concrete pavers, or an angle grinder with a diamond blade for curves and natural stone. Always cut outside your marked line and test-fit before final placement. Wear eye and dust protection.
Compact, Fill Joints & Finish
Run the plate compactor over all laid pavers to bed them firmly into the sand (use a rubber plate protector to avoid surface damage). Spread kiln-dried or polymeric jointing sand across the surface and sweep it into all joints. Compact again. Repeat until joints are fully filled. For polymeric sand, lightly mist with water to activate the binding agents. Apply sealer if desired.
Common DIY Patio Mistakes
| Mistake | What Goes Wrong | How to Avoid |
|---|---|---|
| Skipping sub-base compaction | Pavers sink, shift, and crack within 1–2 years | Compact in two lifts, hire a plate compactor |
| Wrong drainage slope | Water pools on surface or runs toward the house | Set string lines at 1-in-60 slope before excavating |
| Using builder's sand as bedding | Sand washes out, pavers become unstable | Use sharp sand or grit sand only |
| Not allowing 10% extra materials | Run out mid-job, batch colours don't match | Always order 10% more than calculated area |
| Laying pavers in wet conditions | Sand shifts, joints fill with mud | Wait for dry forecast, cover work area overnight |
| Compacting without plate protector | Surface of pavers gets scratched and damaged | Hire a compactor with rubber pad or use carpet offcut |
| Skipping edge restraints | Pavers creep and spread over time | Install rigid edge restraints or haunching mortar around perimeter |
DIY Cost Breakdown vs Hiring a Pro
Based on a standard 200 sq ft patio using concrete block pavers:
| Cost Item | DIY | Hired Pro |
|---|---|---|
| Pavers (200 sq ft + 10%) | $440–$1,100 | Included |
| Sub-base gravel (3.5 tons) | $100–$175 | Included |
| Bedding sand (1.5 tons) | $45–$80 | Included |
| Jointing sand + edging | $40–$80 | Included |
| Tool hire (compactor + splitter) | $150–$250 | Included |
| Skip / spoil disposal | $150–$300 | Included |
| Labor | Your time (2–3 days) | $1,500–$3,500 |
| Total | $925–$1,985 | $3,500–$6,500 |
DIY saves $2,000–$4,500 on a typical patio. The break-even question is your time — if 2–3 days of physical labor is worth less than $2,000 to you, DIY wins easily. For material cost estimates by patio size, see Patio Pavement Price Guide. For design inspiration before you start, see 15 Best Patio Paving Ideas for 2026.
Frequently Asked Questions
How hard is it to pave a patio yourself?
Moderate difficulty — physically demanding but not technically complex. The most critical skill is getting the sub-base level and properly compacted. Most homeowners with basic DIY experience can complete a 150–200 sq ft paver patio over a long weekend. Allow 1–2 days for excavation and base prep, and 1 full day for laying pavers.
How much does it cost to DIY a patio?
DIY patio paving costs $400–$1,200 in materials for a 200 sq ft patio in 2026, depending on the material. Concrete pavers run $2–$5/sq ft. Natural stone is $4–$12/sq ft. Gravel is $1–$3/sq ft. Add $150–$250 for tool hire and $150–$300 for spoil disposal. Total DIY cost typically runs $925–$1,985 vs $3,500–$6,500 for a professional installation.
How deep do I need to dig for a patio?
Excavate 6–8 inches total: 4 inches of compacted sub-base gravel + 1 inch of bedding sand + the thickness of your paving material (1.5–2.5 inches for concrete pavers, 1–2 inches for flags). Dig deeper in clay soil or frost-prone areas. Always remove all organic material — any buried roots or topsoil will decompose and cause sinking.
What is the easiest patio material to lay yourself?
Concrete block pavers are the easiest DIY patio material — uniform size, relatively lightweight, forgiving of minor alignment errors, and easy to cut with a hired block splitter. Natural stone flags are next easiest. Porcelain tiles require more precise bedding and a wet tile saw. Asphalt requires professional plant equipment and is not a DIY option.
Do I need planning permission to pave a patio?
In the US, most residential patios under 200–400 sq ft don't require a permit, but rules vary by municipality — always check with your local building department first. In the UK, patios over 5 square meters using impermeable materials may require planning permission or must use permeable paving to manage runoff. Verify local rules before breaking ground.